Rustic Bread Recipe for Home Oven or Wood fire Oven
Rustic Bread Recipe for Home Oven or Woodfire Oven, Step by Step*
Ingredients for the Biga
1 cup of warm water (100°- 110°F)
¼ teaspoon instant yeast ( I use saf-instant yeast) https://amzn.to/378S9JO
1 ½ cups of bread flour ( I use King Arthur brand) https://amzn.to/3peAWoF
Ingredients for the Dough
1 ½ cups of warm water (100°-110°F), used in two parts
1 teaspoon instant yeast ( I use saf-instant yeast) https://amzn.to/378S9JO
3 ½ cups of bread flour ( I use King Arthur brand) https://amzn.to/3peAWoF
½ teaspoon of salt (I use fine Mediterranean sea salt) - https://amzn.to/2NpNyvG
Items needed
A small amount of rice flour for oval bannetons https://amzn.to/2Nnmsp2
2 oval bannetons (about 10 x 6 inches) https://amzn.to/3d6ZP37
Cloth to cover bannetons (https://amzn.to/3pbobLD)
Kitchen Timer (https://amzn.to/3d8eTgQ)
Bench Scraper (https://amzn.to/3jV5LOh)
Plastic Wrap
Small Bowl
Large mixing bowl
Cambro Container or similar size bowl - https://amzn.to/3tV3E1t
Danish Dough Whisk (if you choose to use this to mix) (https://amzn.to/3qjW3qM)
Pizza Stone (if you want to bake in your home oven) https://amzn.to/3qhkKV0
Kindling (if baking if woodfire oven) - https://amzn.to/3ahvFZl
Wood (if baking in woodfire oven)
Laser Thermometer (if baking in the woodfire oven) https://amzn.to/3d6RiNL
Making the Biga
1. Pour the water into a small bowl
2. Sprinkle the yeast on top of the water and set aside for a few minutes to allow the yeast to dissolve.
3. Add flour and stir well to combine. (you can use your hand, a rubber spatula, or a danish dough whisk)
4. Keep the dough in the bowl and cover it with plastic wrap.
5. Set out at room temperature overnight. Remember room temperature should be around 68°– 77°F.

Biga - the morning after
There is no need to be afraid of making Biga. Biga is simply a type of pre-fermentation used mostly in Italian baking. It adds flavor and often gives the bread an open texture.
Making the Dough
1. Pour the 1 cup of water into a large mixing bowl. Keep ½ to the side to use later.
2. Sprinkle the yeast on top of the water and set aside for a few minutes to allow the yeast to dissolve.

Dissolved yeast
3. Oil a container (I use Cambro containers, or bowl that will be used later to proof the dough)
4. Combine the flour and salt together and set aside.
5. Prepare a space or board with flour to use as a work surface to knead the dough after all ingredients are incorporated as instructed below.
6. Add the Biga mixture to the yeast mixture and mix well to combine. I usually use one hand here so that I can feel when all the biga is properly combined.

Incorporated Biga.
7. Get the combined flour and salt mixture and start adding it to the wet ingredients ½ cup at a time.
8. You need to stir continuously in incorporating the dry ingredients in ½ cup increments for about 5 minutes until everything is combined.
9. Get the ½ of the remaining water and incorporate enough water into the dough that allows the flour and wet ingredients to become incorporated. Do not worry if you don’t use all the water.
10. The dough should not be too dry or too wet.
11. Remove the dough from the bowl onto the previously prepared floured work surface and knead for 10-12 min, or until the dough is smooth and elastic.
12. Set the dough in the oiled container and cover with plastic wrap. I mark the container with a dry erase marker, so you know when it is doubled in size.

Dough ready to proof.
13. Leave the container out at room temperature for 1 ½ hour or until the dough has doubled in size. I use a kitchen timer even though my phone has one. I like to use a kitchen timer because if I am doing more than one thing at a time, I write the name of the item I am timing on these with a dry erase marker.
14. Flour your work surface again.
15. Flour your oval bannetons with rice flour.
16. Gently place the dough on the floured surface.

Dough ready to divide.
17. Divide the dough in half. (I use a lightly floured Bench scraper)
18. Gently shape (move it back and forth with both hands) the dough to an oval shape.
19. Place the shaped doughs in each banneton. (remember this is rustic bread so they don’t have to look perfect)

Flour bannetons ready to proof a second time.
20. Cover the bannetons with a cloth and allow them to rise (proof) for about 1 ½ hour.
21. If you are baking inside your home oven with a pizza stone, pre-heat the oven now to 450° F with the stone inside.
22. If you do not have a pizza stone, you can use an upside-down baking sheet.
23. Once the bread is proofed, place the bread on the pizza stone or upside-down baking sheet and bake for about 25-30 minutes.
24. If you are using a woodfire oven before you add the loaves to the oven you must have the floor temperature (where you plan to place the loaves) to at least 450-475°F. (If you want instructions on how to start a woodfire oven, click here)
25. You now need to get a rag or a small mop and wet it so you can mop the floor clean from all the ashes.
26. I place a little rice flour on a pizza peel and I place each bread individually on the peel.
26. Using the peel, I slide the bread into the woodfire oven.
27. I repeat the above steps with the second loaf.
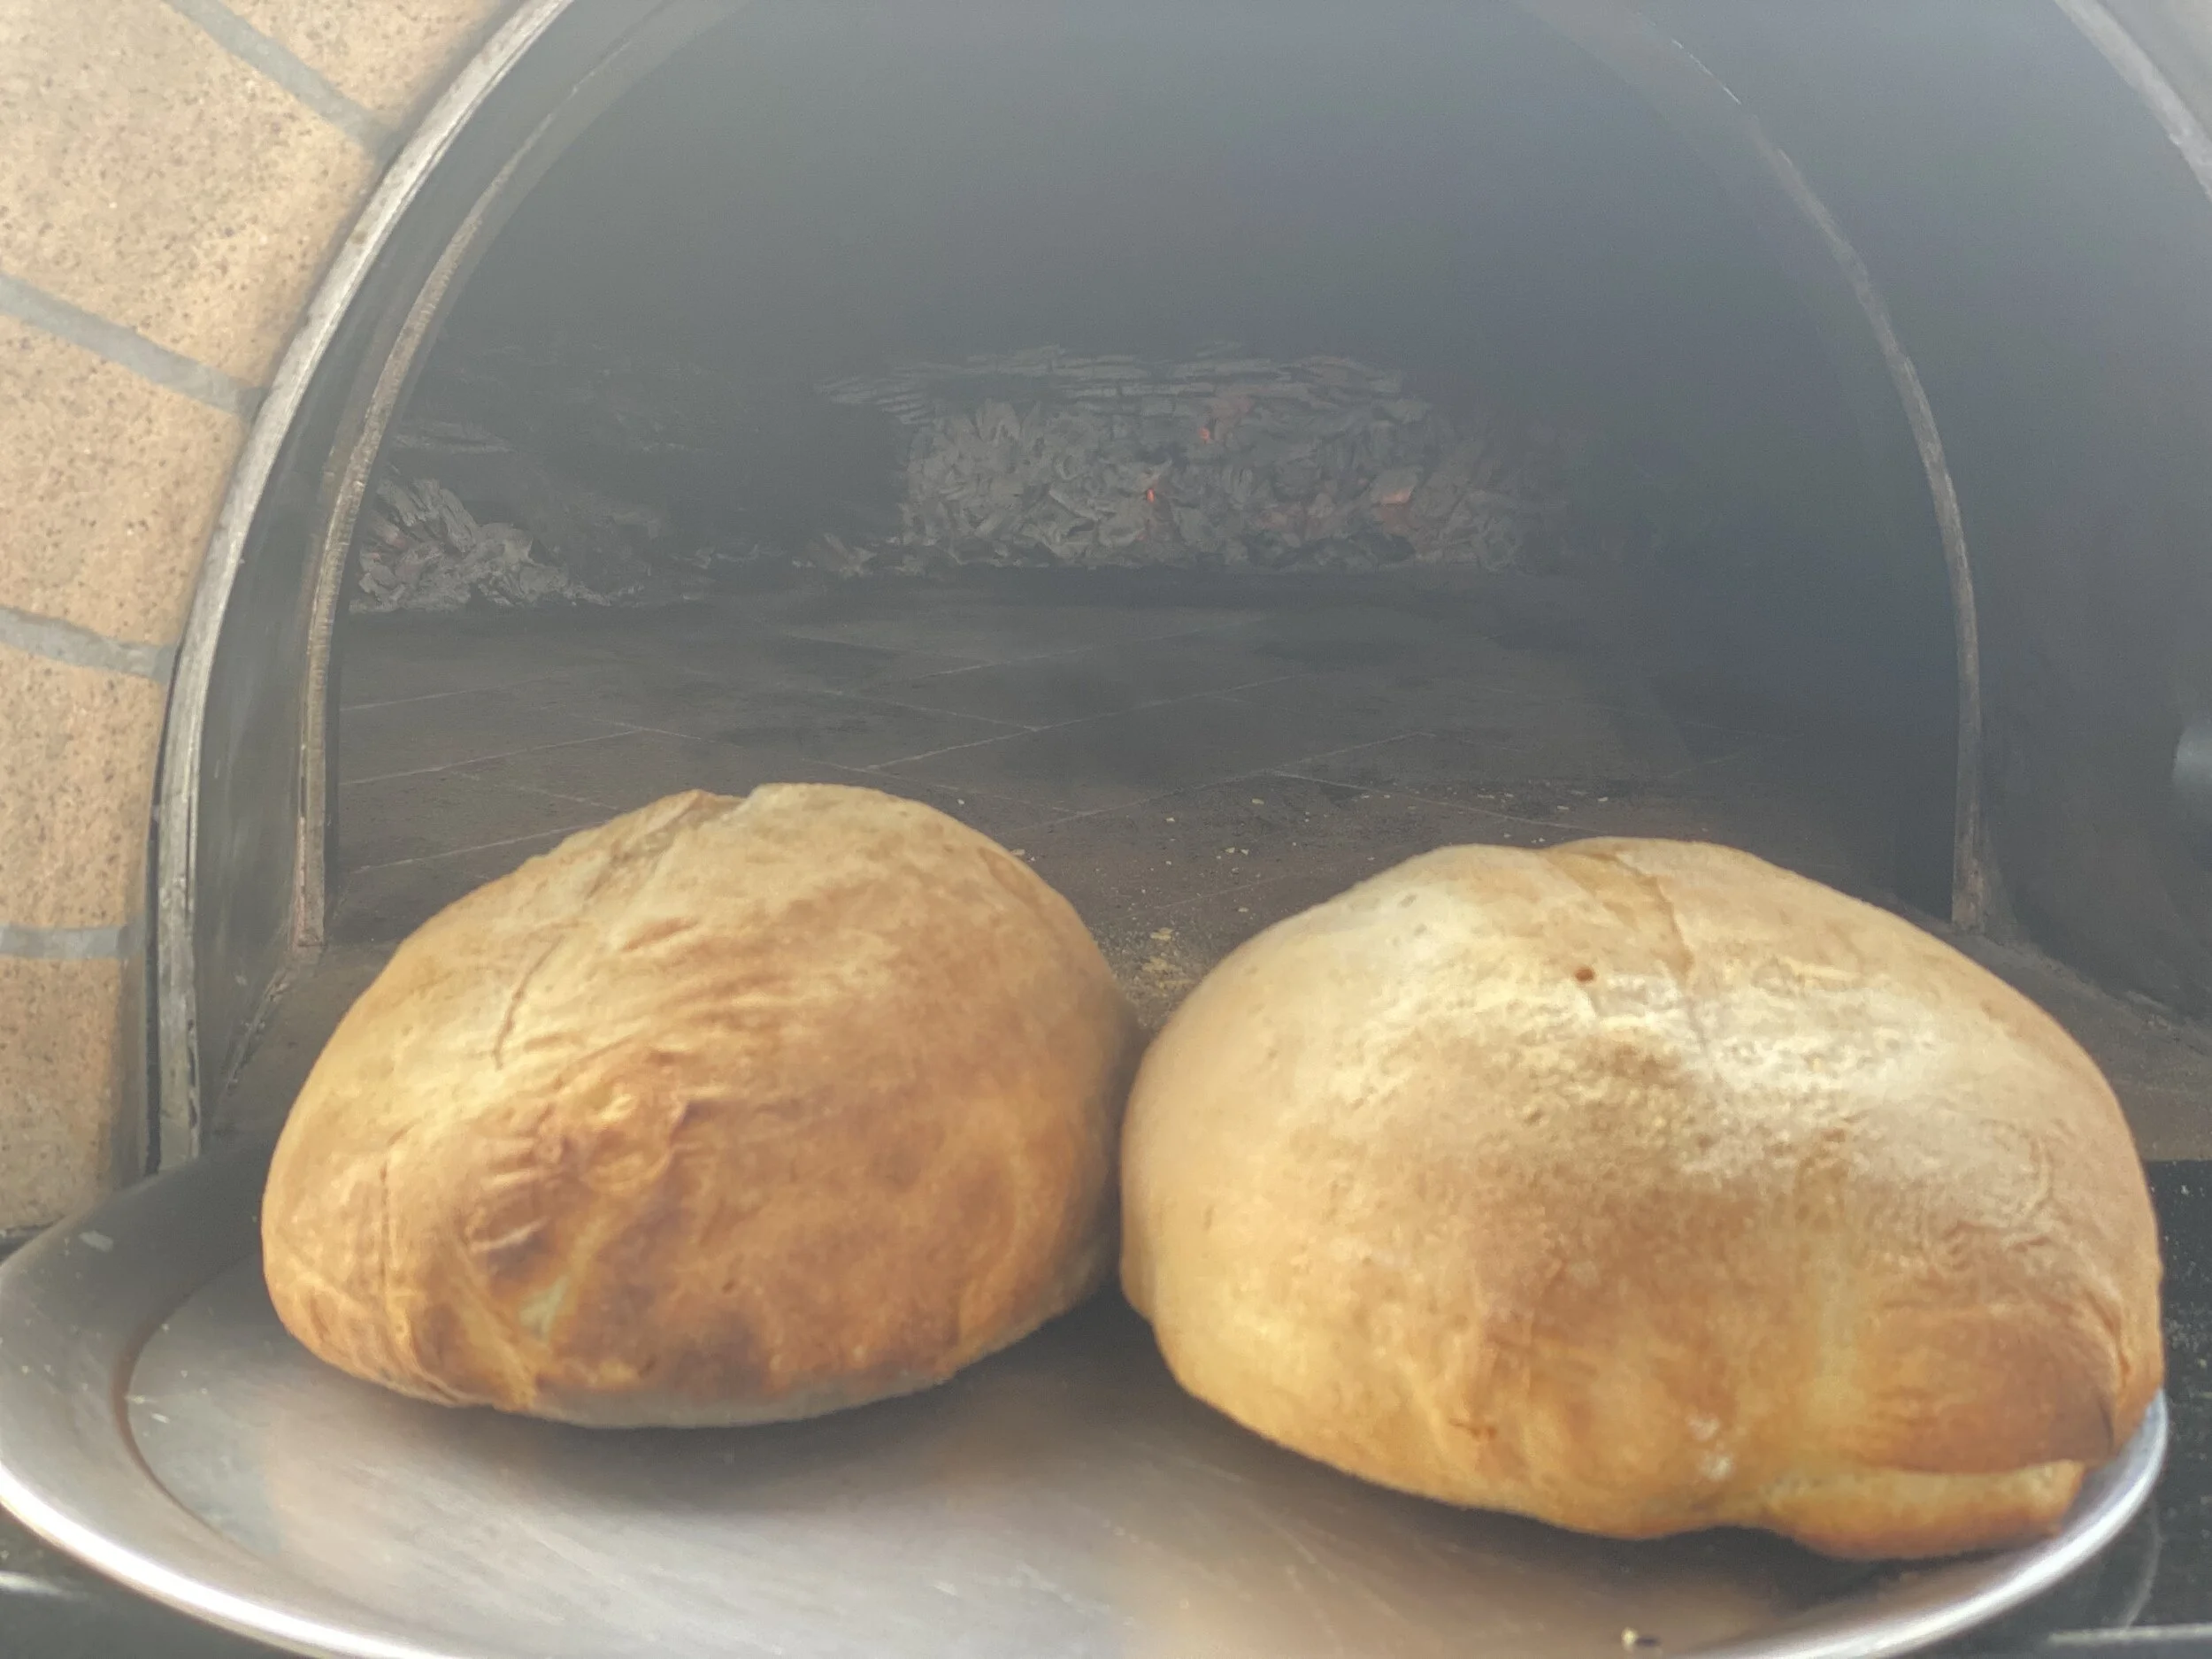
Just out of the woodfire oven.
28. Once both loaves are in the wood fire oven, I place the door on and bake at 450° F it for 25-30 min.
29. Let them rest for 15-20 minutes before cutting. Enjoy the bread and the fact that YOU DID IT!!!

Now enjoy!!
Rustic Bread Recipe for Home Oven or Woodfire Oven (condensed Version)
Ingredients for the Biga
1 cup of warm water (100°- 110°F)
¼ teaspoon instant yeast
1 ½ cups of bread flour
Ingredients for the Dough
1 ½ cups of warm water (100°-110°F), used in two parts
1 teaspoon instant yeast
3 ½ cups of bread flour
½ teaspoon of salt
Items needed
A small amount of rice flour for oval bannetons
2 oval bannetons (about 10 x 6 inches)
Cloth to cover bannetons
Kitchen Timer
Bench Scraper
Plastic Wrap
Small Bowl
Large mixing bowl
Cambro Container or similar size bowl
Danish Dough Whisk (if you choose to use this to mix)
Pizza Stone (if you want to bake in your home oven)
Kindling (if baking if woodfire oven)
Wood (if baking in woodfire oven)
Laser Thermometer (if baking in the woodfire oven)
Making the Biga
1. Pour the water into a small bowl
2. Sprinkle the yeast on top of the water and set aside for a few minutes to allow the yeast to dissolve.
3. Add flour and stir well to combine.
4. Keep the dough in the bowl and cover it with plastic wrap.
5. Set out at room temperature overnight.
Making the Dough
1. Pour the 1 cup of water into a large mixing bowl. Keep ½ a cup to the side to use later.
2. Sprinkle the yeast on top of the water and set aside for a few minutes to allow the yeast to dissolve.
3. Oil a container.
4. Combine the flour and salt together in a bowl and set aside.
5. Prepare a space on your counter or board with flour to use as a work surface to knead the dough after all ingredients are incorporated as instructed below.
6. Once the yeast is dissolved, add the Biga mixture to the yeast mixture and mix well to combine
7. Get the combined flour and salt mixture and start adding it to the wet ingredients ½ cup at a time.
8. You need to stir continuously incorporating the dry ingredients in ½ cup increments for about 5 minutes until everything is combined.
9. Get the ½ of the remaining water and incorporate enough water into the dough that allows the flour and wet ingredients to become incorporated. Do not worry if you don’t use all the water.
10. The dough should not be too dry or too wet.
11. Remove the dough from the bowl onto the previously prepared floured work surface and knead for 10-12 min, or until the dough is smooth and elastic.
12. Set the dough in the oiled container and cover with plastic wrap.
13. Leave the container out at room temperature for 1 ½ hour or until the dough has doubled in size.
14. Flour your work surface again.
15. Flour your oval bannetons with rice flour.
16. Gently place the dough on the floured surface.
17. Divide the dough in half.
18. Gently shape the dough to an oval shape.
19. Place the shaped doughs in each banneton
20. Cover the bannetons with a cloth and allow them to rise for about 1 ½ hour.
21. If you are baking inside your home oven with a pizza stone, pre-heat the oven now to 450° F with the stone inside.
22. If you do not have a pizza stone, you can use an upside-down baking sheet.
23. Once the bread is proofed, place the bread directly on the pizza stone or upside-down baking sheet and bake for about 25-30 minutes.
24. If you are using a woodfire oven before you add the loaves to the oven you must have the floor temperature to at least 450-475°F.
25. You now need to get a rag or a small mop and wet it so you can mop the floor clean from all the ashes.
26. I place a little rice flour on a pizza peel, and I place each bread individually on the peel.
27. Using the peel, I slide the bread into the woodfire oven.
28. I repeat the above steps with the second loaf.
29. Once both loaves are in the wood fire oven, I place the door on and bake at 450° F it for 25-30 min.
30. Let them rest for 15-20 minutes before cutting.
Disclaimer… I am not a professional baker, this recipe is what has worked for me based on my trial and errors, in my search for trying to make a good loaf of bread. If some steps are “wrong” I apologize, but in the end the product is yummy!